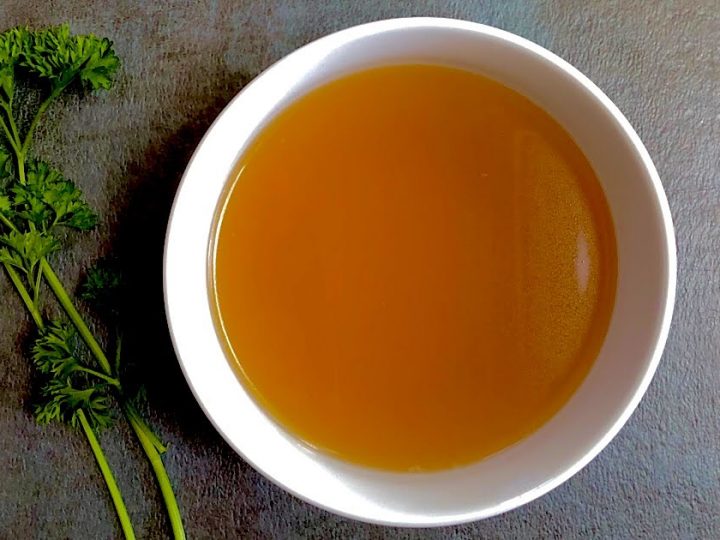
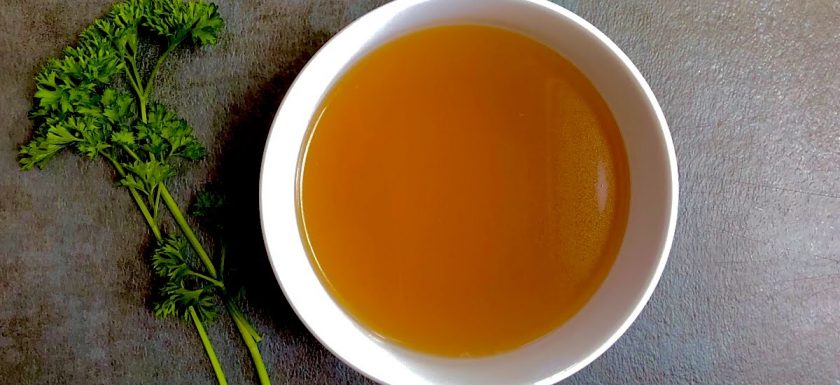
Do you want to make chicken broth from scratch? Making homemade chicken broth in the Instant Pot is so easy!
This is my tried-and-true method to make chicken broth. Please know that I do not measure anything so I cannot provide quantities of ingredients for this recipe. I know, I know, makes my friends crazy.
Ingredients
- Chicken bones, leftover meat, and skin
- 3 whole Carrots
- 3 stocks of Celery
- 2 medium Onions
- Bay leaves (optional)

Tools and Supplies
- Instant Pot. We use an 8 Quart Instant Pot (GET IT HERE) but they are available in 6 Quart (GET IT HERE).
- Strainer (GET IT HERE). I recommend a stainless steel strainer, especially when working with hot items.
- Wire Mesh Sieve (GET IT HERE). Again, stainless steel is the way to go. We use an Oxo sieve and have had it for years.
- Stock Pot or stainless steel bowls large enough to hold the strainer and broth.
- Large Ladle
- Funnel for Mason Jars (GET IT HERE).
- Fat Separator (GET IT HERE) (optional)
- Mason Jars (GET IT HERE) and Lids (or an air-tight container)
- Vacuum Sealer and Bags (optional)
We prefer to use stainless steel whenever possible and for good reasons. Stainless steel is easy to clean. It works well with boiling hot liquids. It lasts a long time so they are a good investment. Additionally, we have found OXO products to work well and last a long time.
#1. Collect Kitchen Scraps
I save my vegetable scraps ahead of time for when I make broth. Whenever I peel a carrot, cut an onion, or trim off the ends of celery, I save those scrap pieces and place them in a freezer bag. The freezer bag goes in the freezer where I can add to it easily.
This collection happens continually throughout the year so I am never without carrots, onions, and celery for when I make broth. When it is time to make broth, I take the bag out of the freezer and add as much as I want to the pot.
If you don’t have a handy bag of vegetables, use 3 whole carrots, 3 stalks of celery, and 2 medium onions. Cut the vegetables in large chunks. This is the recipe for which I don’t have to have perfectly cut sizes.
#2. The Chicken
After I roast the chicken, I gather all the bones, the neck, skin, and wing tips, and put them in the pot. Then, I add the onions, carrots, and celery from the freezer bag. Finally, I add enough water to fill the Instant Pot to the PC MAX line. I do not add salt or pepper to the broth because I don’t want to over-salt meals. It is entirely your preference if you want to add seasoning. Sometimes, I add bay leaves just to feel fancy.
#3. Turn on the Instant Pot
Set the lid and Steam Release Handle on the Instant Pot and press the Soup/Broth button. Allow the broth to release naturally. Many times, I want the broth to simmer longer so after the pressurization is done, I set the Instant Pot to SLOW COOK until I am ready to strain the broth. The longer it simmers the better, I say!
#4. Strain the Broth
Turn off the Instant Pot and allow the pot to cool long enough to handle. I place a strainer inside a large stock pot or the largest bowl I have. Next, I pour the broth through the strainer, being careful not to let the large pieces of bones and vegetables splash on me. Allow it to strain fully, then I strain it again through a mesh sieve. The sieve will catch all the little pieces of bone and produces a lovely clear broth.

#5. Storage
There are a couple ways I store the broth depending on the weekly menu. If I plan to use it in a dish in the next couple days, then I save two quart Mason jars of broth and keep it in the refrigerator. Make sure the jars are cool enough before you set them in the refrigerator. Be sure to label and write the date on the jar. I will only keep broth in the refrigerator for a week otherwise it will spoil.
The second method, is to vacuum seal the broth in bags. We use our vacuum sealer all the time. It is so handy. Our bags that hold four cups of broth, which tends to be a good amount for most recipes. I label, bag, and seal the broth. Then, I lay the bags on a baking sheet and place them in the freezer. Once they are completely frozen, I remove them from the baking sheet and store them in the broth section of my freezer. When I need broth, I pull a bag out and thaw it either on the counter or if I’m in a hurry, I pop it in the sink with hot tap water to completely thaw it out.
So that’s it! Let me know in the comments if you have tried it and if you add anything special to it.
INSTANT POT CHICKEN BROTH

Ingredients
- Left over chicken pieces, bones, and skin
- 3 whole carrots, cut into chunks
- 3 celery stalks, cut into chunks
- 2 medium onions, cut into chunks
- Water, enough to fill to Instant Pot PC Max line
Instructions
- Add enough water to fill the Instant Pot to the PC MAX line. Do not add salt or pepper to the broth to prevent over salting dishes using the broth. You can add bay leaves for extra flavor.
- Set the lid and Steam Release Handle on the Instant Pot and push the Soup/Broth button. Allow the broth to release naturally. You can simmer the broth longer after the pressurization is done by setting the Instant Pot to SLOW COOK until ready to strain and store the broth.
- Turn off the Instant Pot and allow the pot to cool enough to handle. Place a strainer inside the largest stock pot or bowl.
- Pour the broth in the strainer, being careful not to let the large pieces of bones and vegetables splash on you. Allow it to strain fully.
- Strain it again through a mesh sieve. The sieve will catch all the little pieces of bone and produces a lovely clear broth. Discard all bones and vegetables used in the finished broth.
- Store Chicken Broth in refrigerator for up to one week in a closed container such as Mason Jars. Or up to a year in a freezer in vacuum bag or freezing container of your choosing.
Notes
You can SLOW COOK the broth for further simmering.
Broth can be stores in the refrigerator up to a week. Broth can be vacuum sealed and frozen for future use.


Thank you so much for sharing your knowledge. We have tried it, and it taste amazing 🤩.
Can’t wait to see your next post!
– signed Claire 😉
Thanks Claire! I’m glad it worked well for you. Blessings!